User Management
This page covers everything an admin does to let real humans — and headless scripts — authenticate against their auxilia deployment.
The first admin
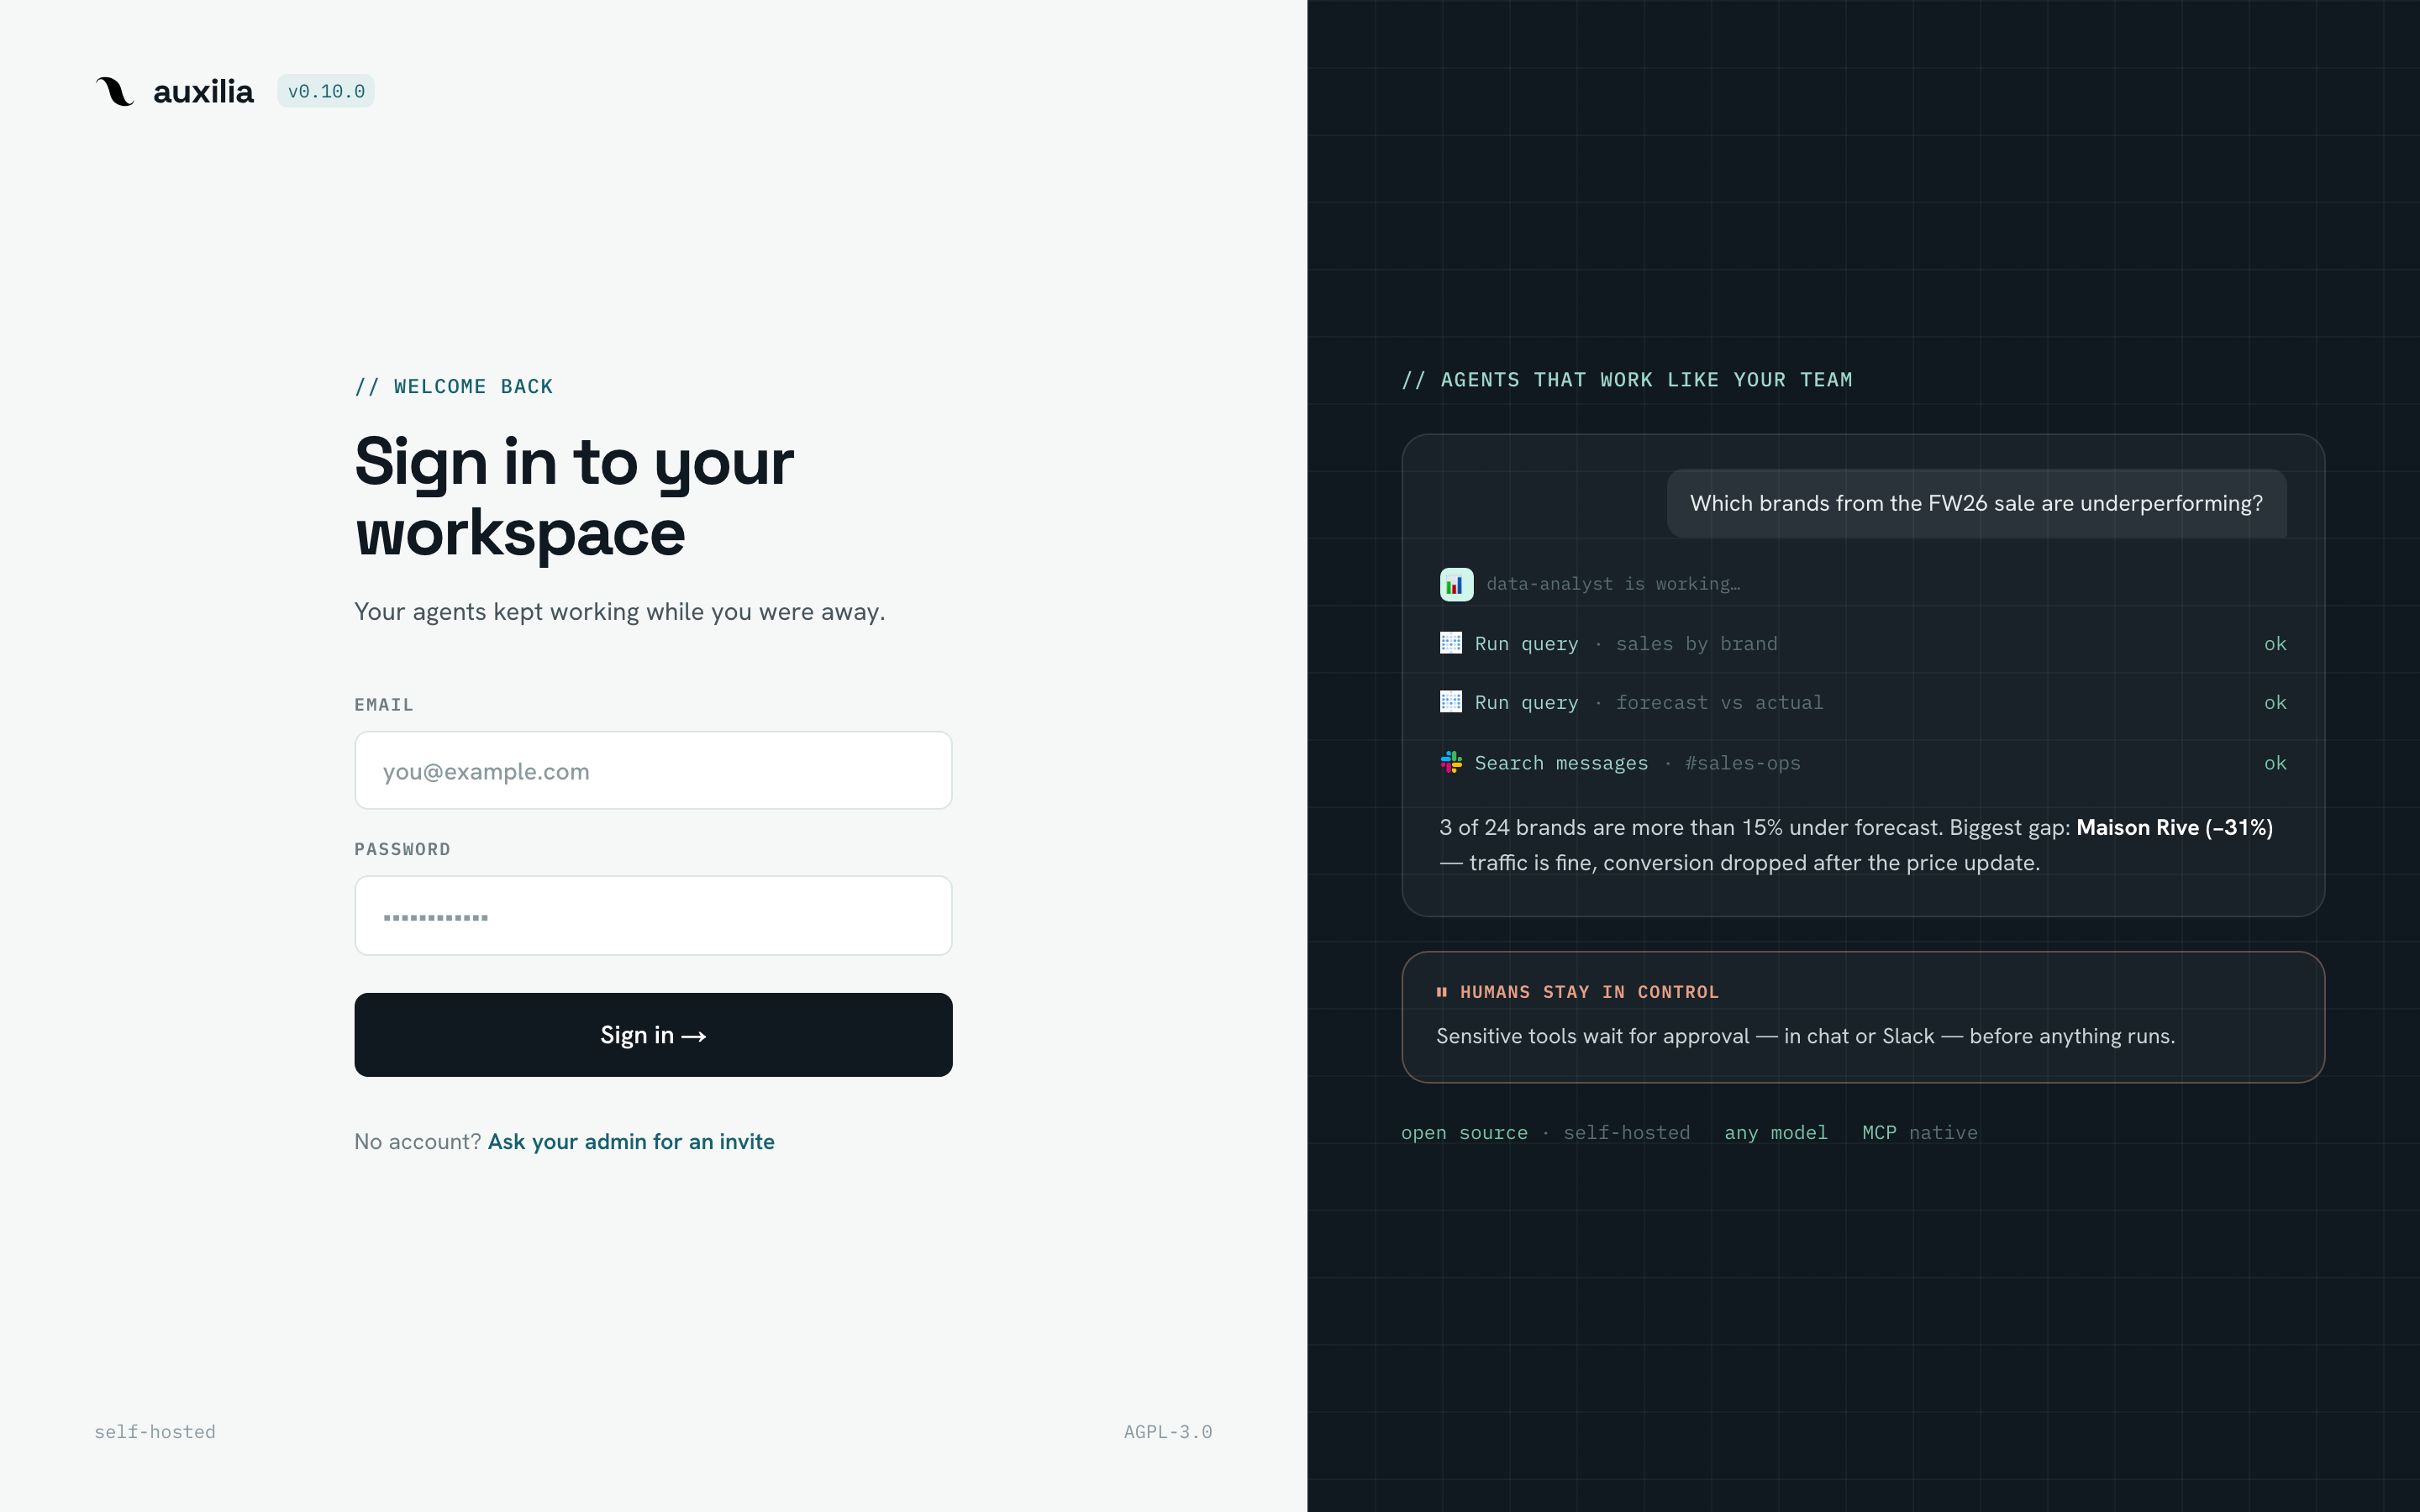
The first account created on a fresh install automatically becomes the workspace admin. After that, new signups require an invite (or Google OAuth if configured).
To create the first admin:
- Deploy the stack
- Open the public URL (
FRONTEND_URL) - Sign up with email + password, or sign in with Google (if OAuth is configured)
- You’re the admin
Workspace roles
Every user has one of three workspace-level roles:
| Role | Can create agents, skills, triggers | Can see unshared agents | Can manage MCP servers, sandboxes, models, users, tokens |
|---|---|---|---|
admin | yes | yes (all agents) | yes |
editor | yes | only own + shared | no |
member | no | only shared | no |
These are the global workspace permissions. Per-agent permissions layer on top — see Agent Permissions.
The Users page
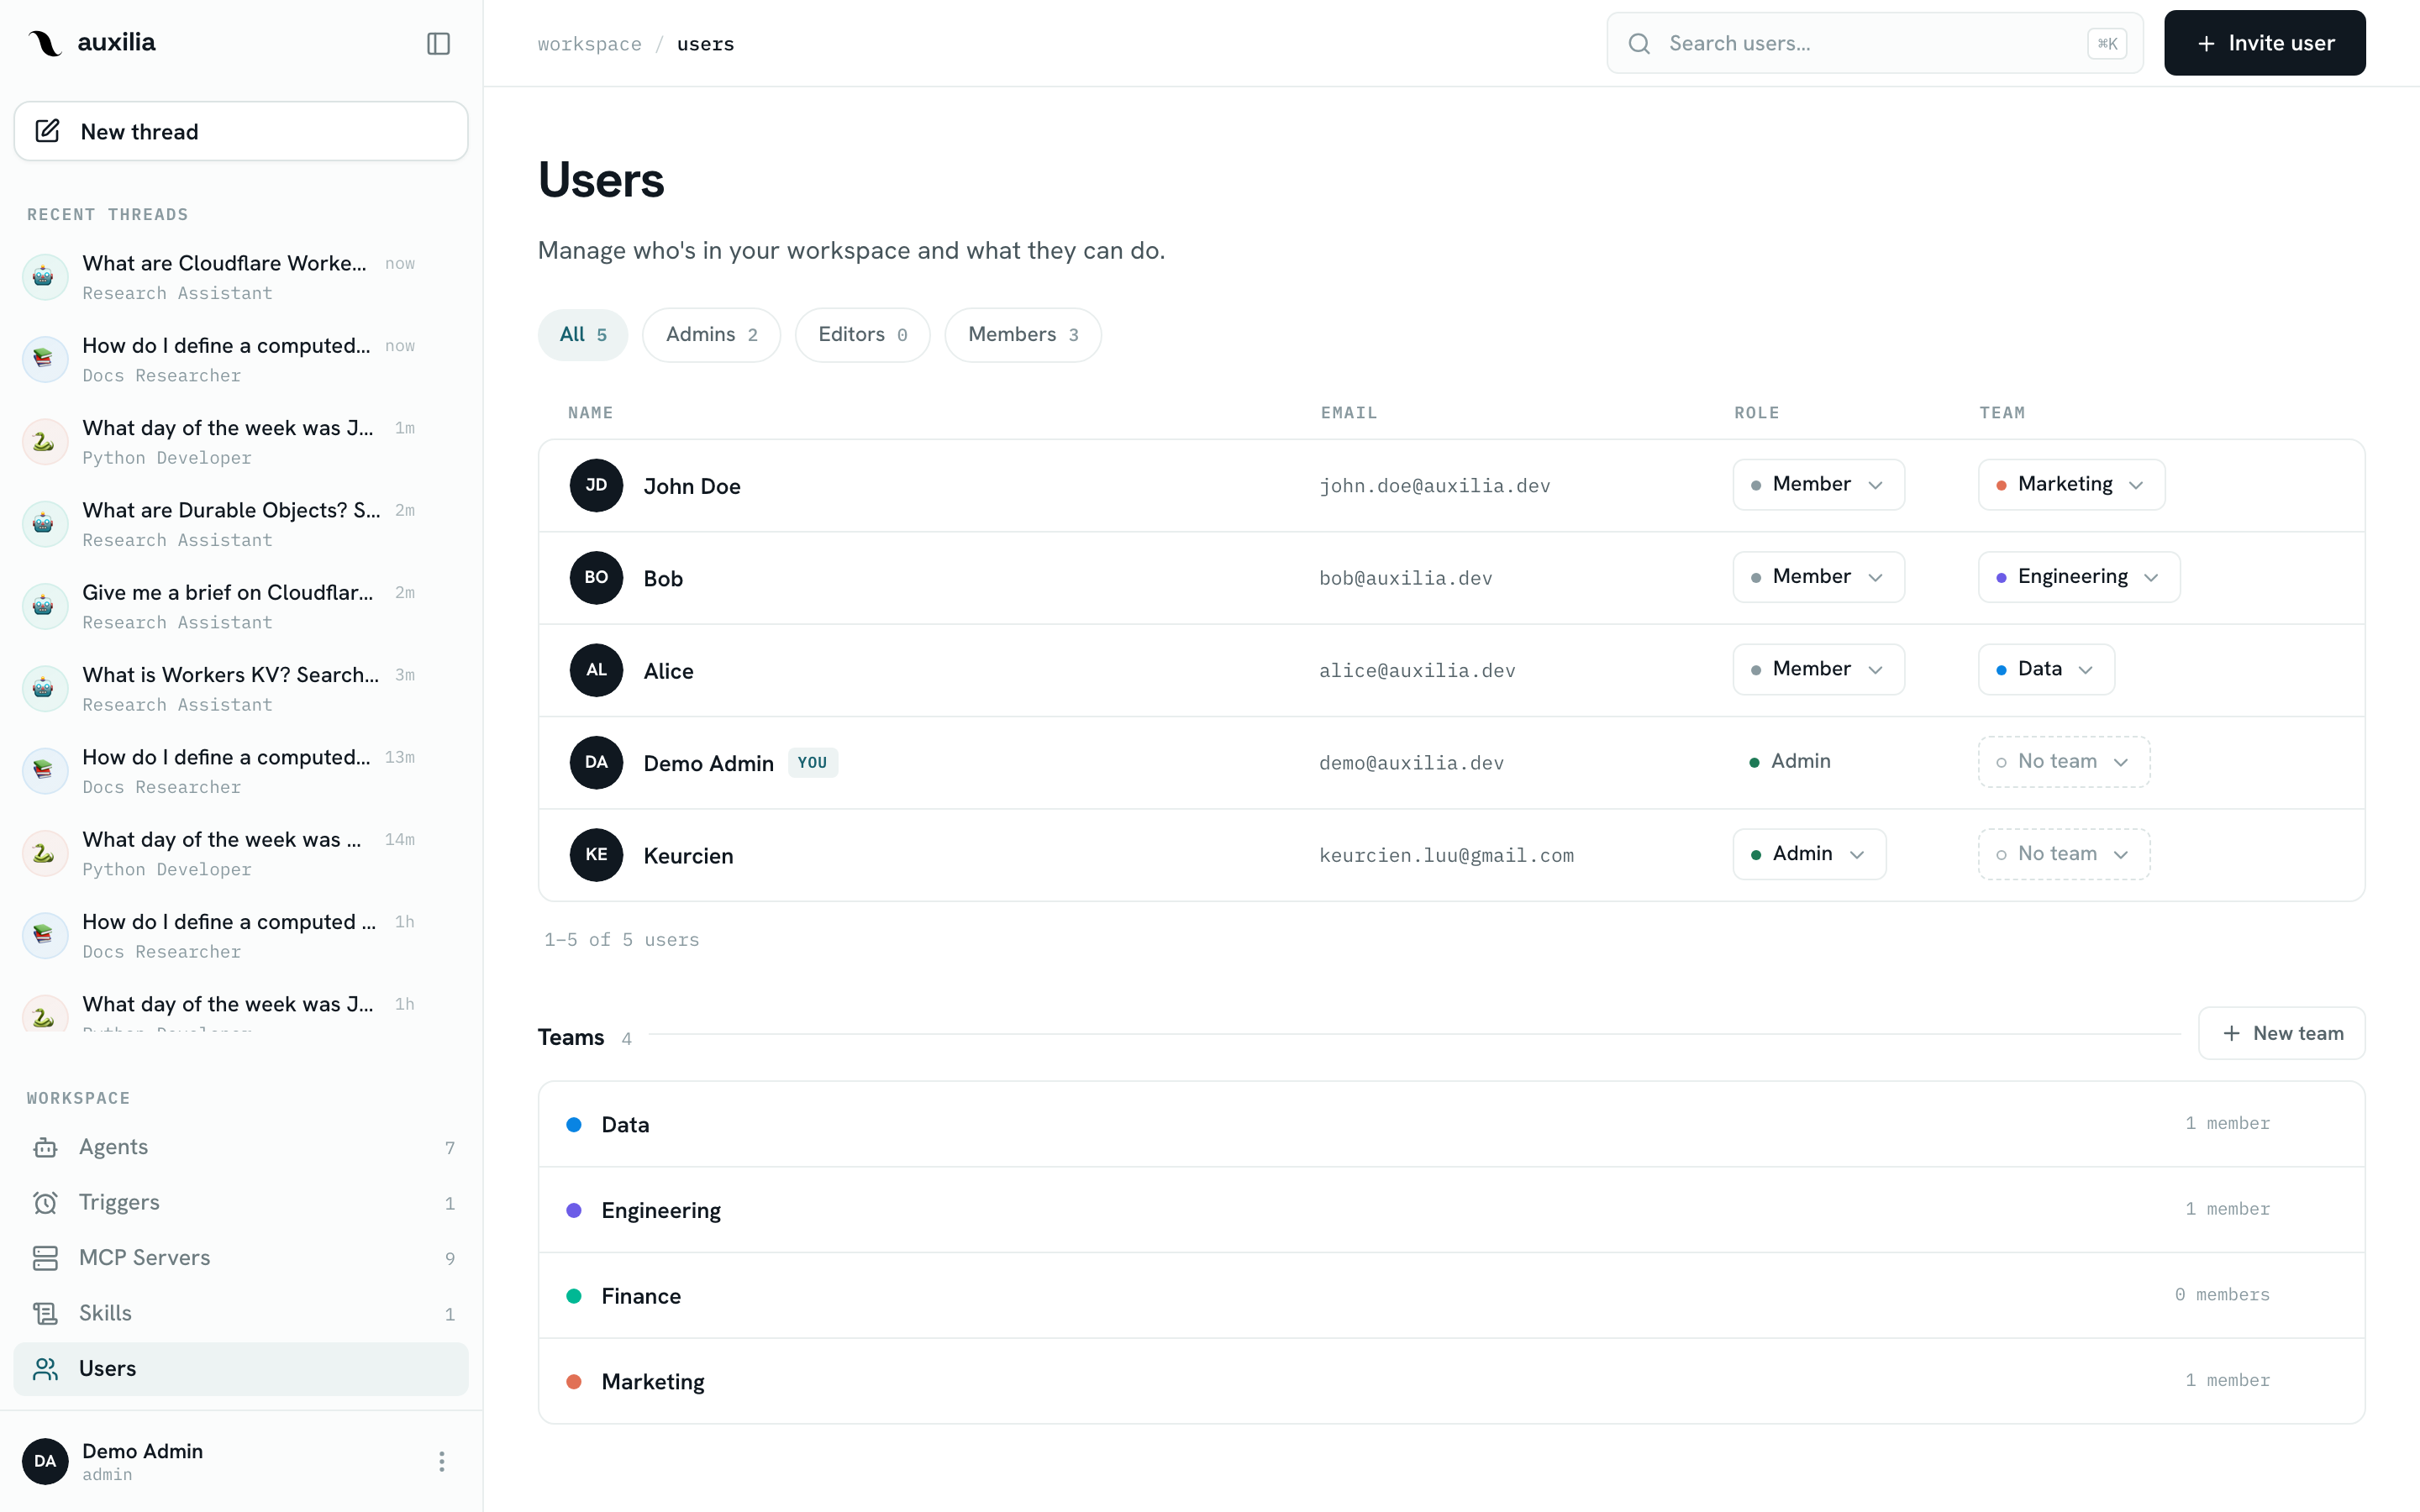
Users in the sidebar is where admins manage people and teams.
Inviting users
- Click Invite user
- Enter the email address and pick a role (
admin,editor, ormember) - auxilia returns a one-time invite URL (
<FRONTEND_URL>/invite/<token>) — share it with the person you’re inviting
The invitee opens the URL, signs up (or signs in with Google), and lands in the workspace with the role you selected. Pending invites are listed on the page and can be revoked.
Teams
Click New team to create a team, then assign users to it from their row. A user belongs to at most one team. Teams exist to share agents: binding a team to an agent in its Permissions tab gives every member member access. See Agent Permissions.
Managing existing users
From the same page, admins can:
- Change a user’s role (
member↔editor↔admin) - Move a user to another team, or to no team
- Remove a user from the workspace
Google OAuth
To let users sign in with their Google accounts, configure:
GOOGLE_CLIENT_ID=...
GOOGLE_CLIENT_SECRET=...
GOOGLE_REDIRECT_URI=https://your-host/auth/google/callback
Optionally set AUTH_GOOGLE_EXCLUSIVE=true to disable email/password signup entirely — useful when you want Google as the single identity provider for the workspace.
Create the OAuth client in the Google Cloud Console:
- APIs & Services → Credentials → Create Credentials → OAuth client ID
- Application type: Web application
- Authorized redirect URI: the value of
GOOGLE_REDIRECT_URI - Copy the Client ID and Secret into the env vars above
Users still need an invite (unless they’re the first account). Google OAuth only changes how they authenticate, not whether they’re allowed in.
Personal access tokens (PATs)
For headless usage — scripts, CI, n8n, Cloud Scheduler — workspace admins can mint personal access tokens from Settings → Personal access tokens.
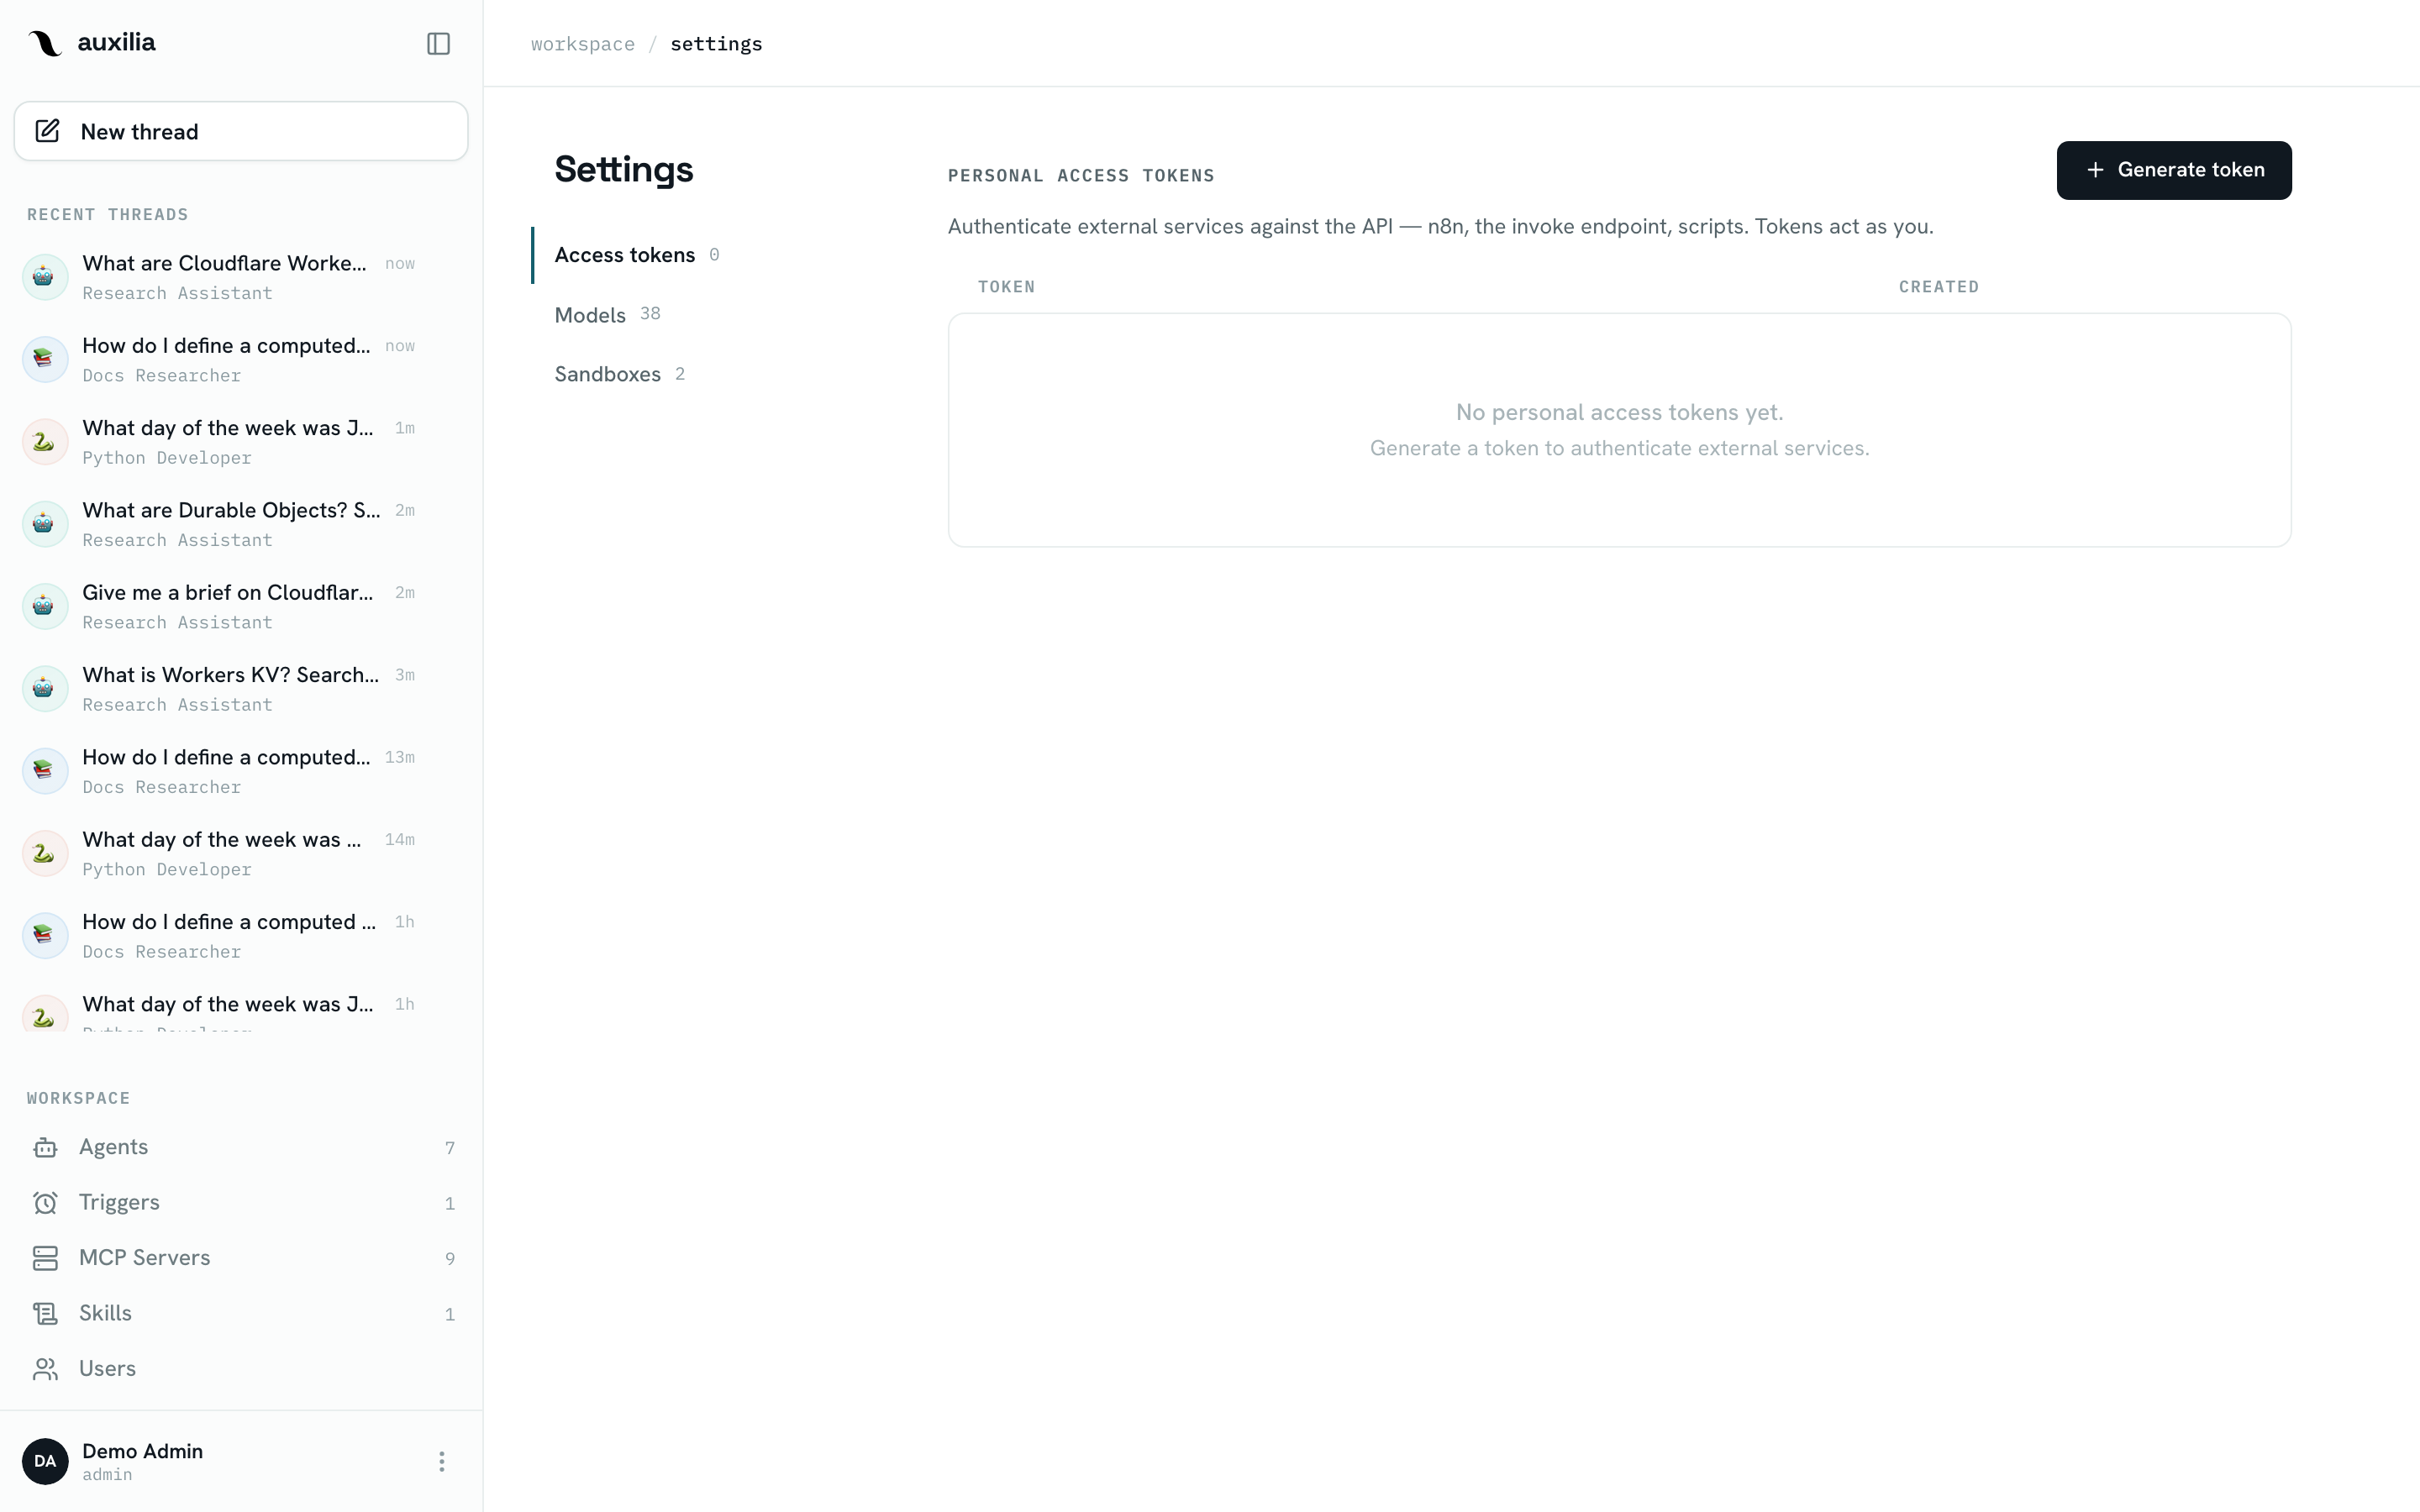
- PATs authenticate API calls as the creating admin (with that user’s role and agent permissions)
- They are hashed at rest in the database
- The raw token is shown once at creation time — copy it immediately
- Tokens can be revoked any time from the same screen
Use a PAT in the Authorization header:
curl -H "Authorization: Bearer <PAT>" \
  https://your-host/api/backend/agents/
For tutorials on using PATs to trigger agents from external systems, see Tutorials. For recurring runs you don’t need a PAT at all — a trigger schedules the agent from inside auxilia.